How To Create Pink Simple Summer Nails
If you are looking for a simple summer pretty pink nail style, then look no further. In this new article, I'll explain how you can achieve a classy yet fun summer acrylic and gel nail look.
Pink Summer Nails
To achieve this nail style, I used a combination of acrylic nails with a gel finish. It's always how I have created most of my nail looks. When choosing a pink summer design I decided not to go over the top with this one and just do something simple yet visually pleasing.
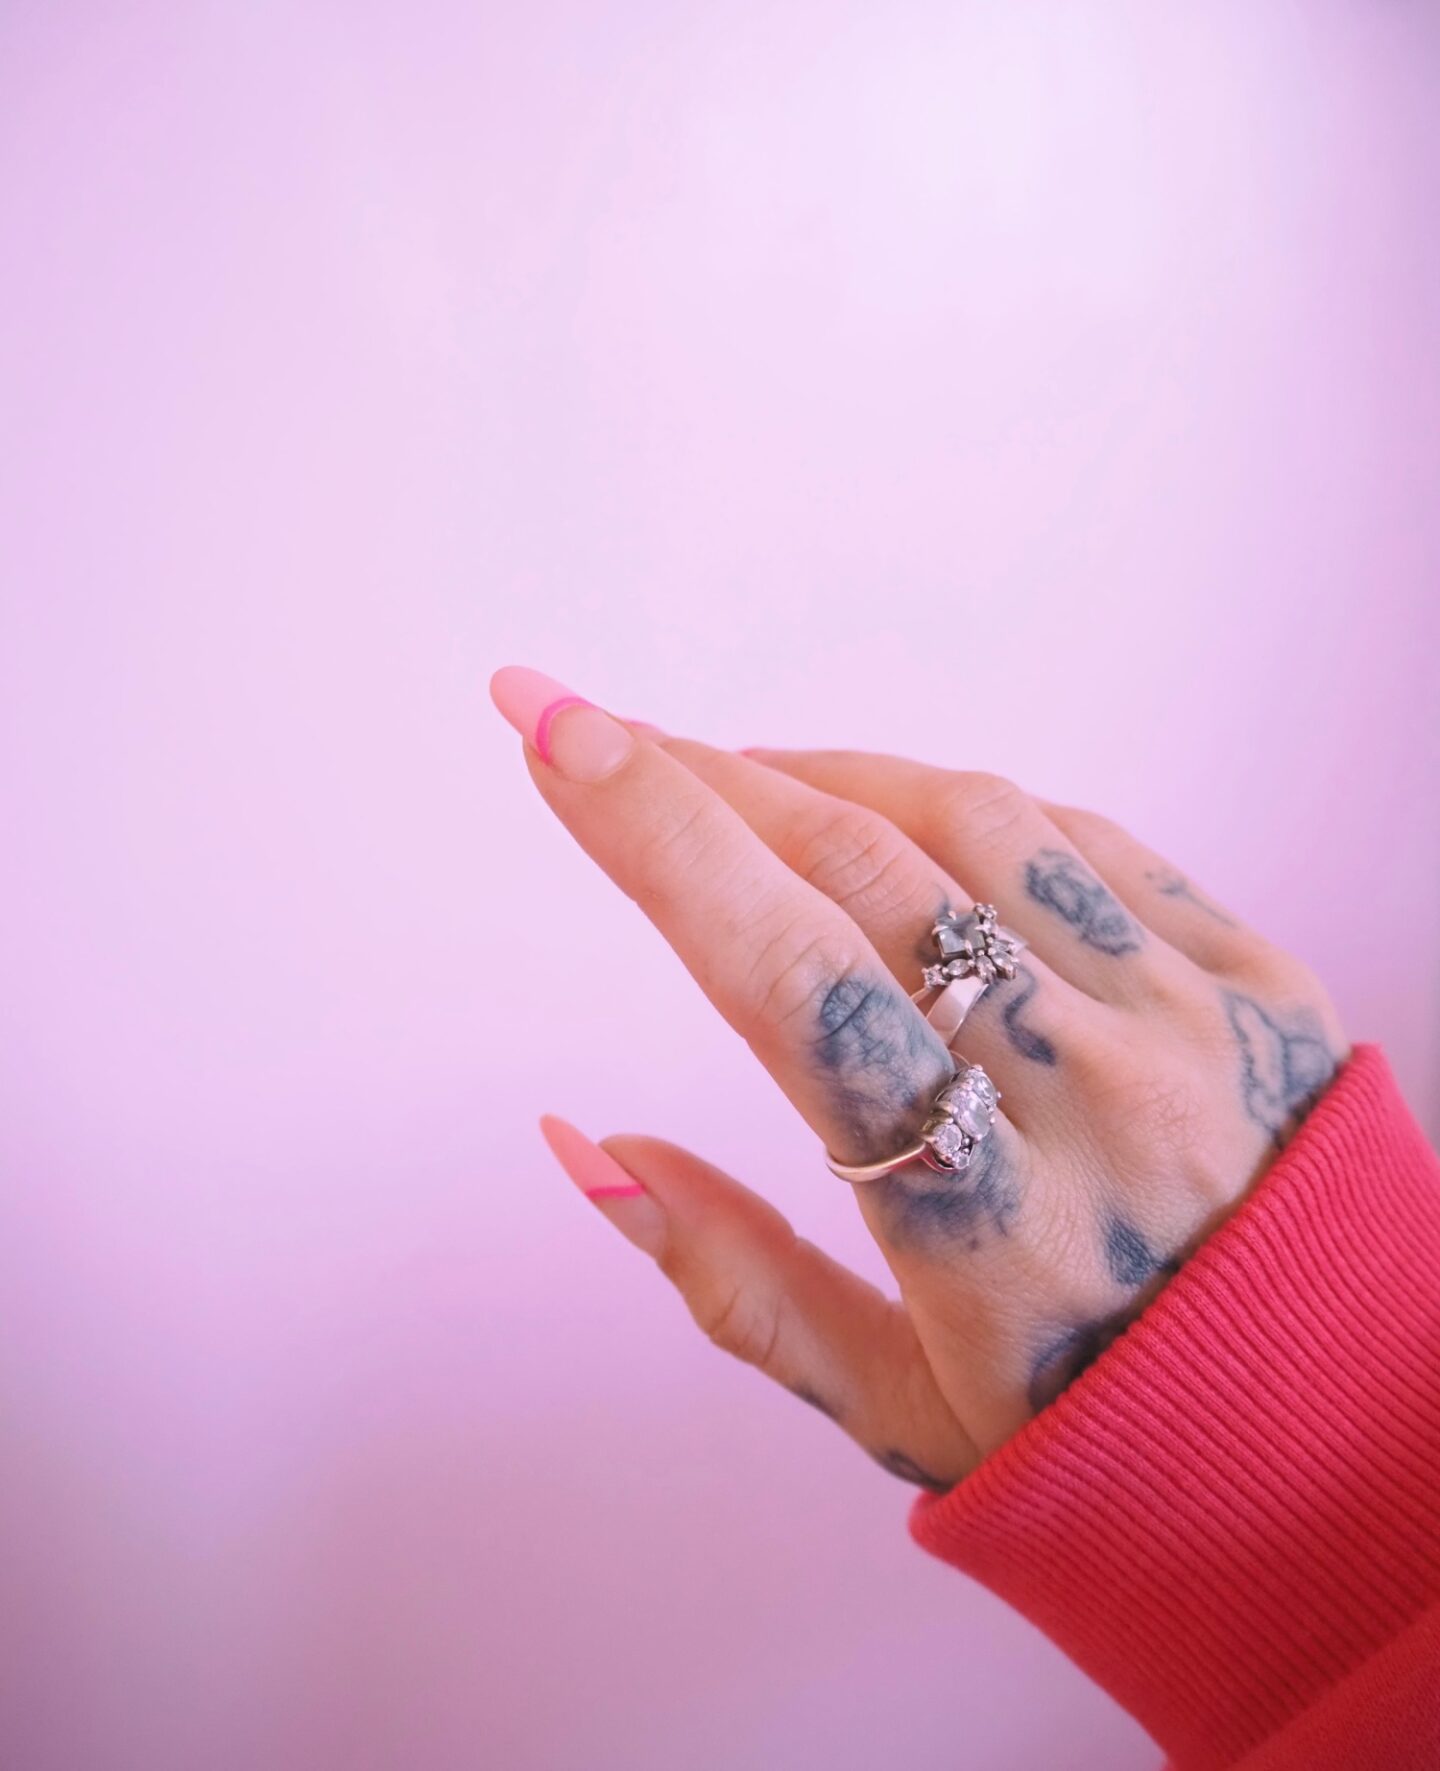
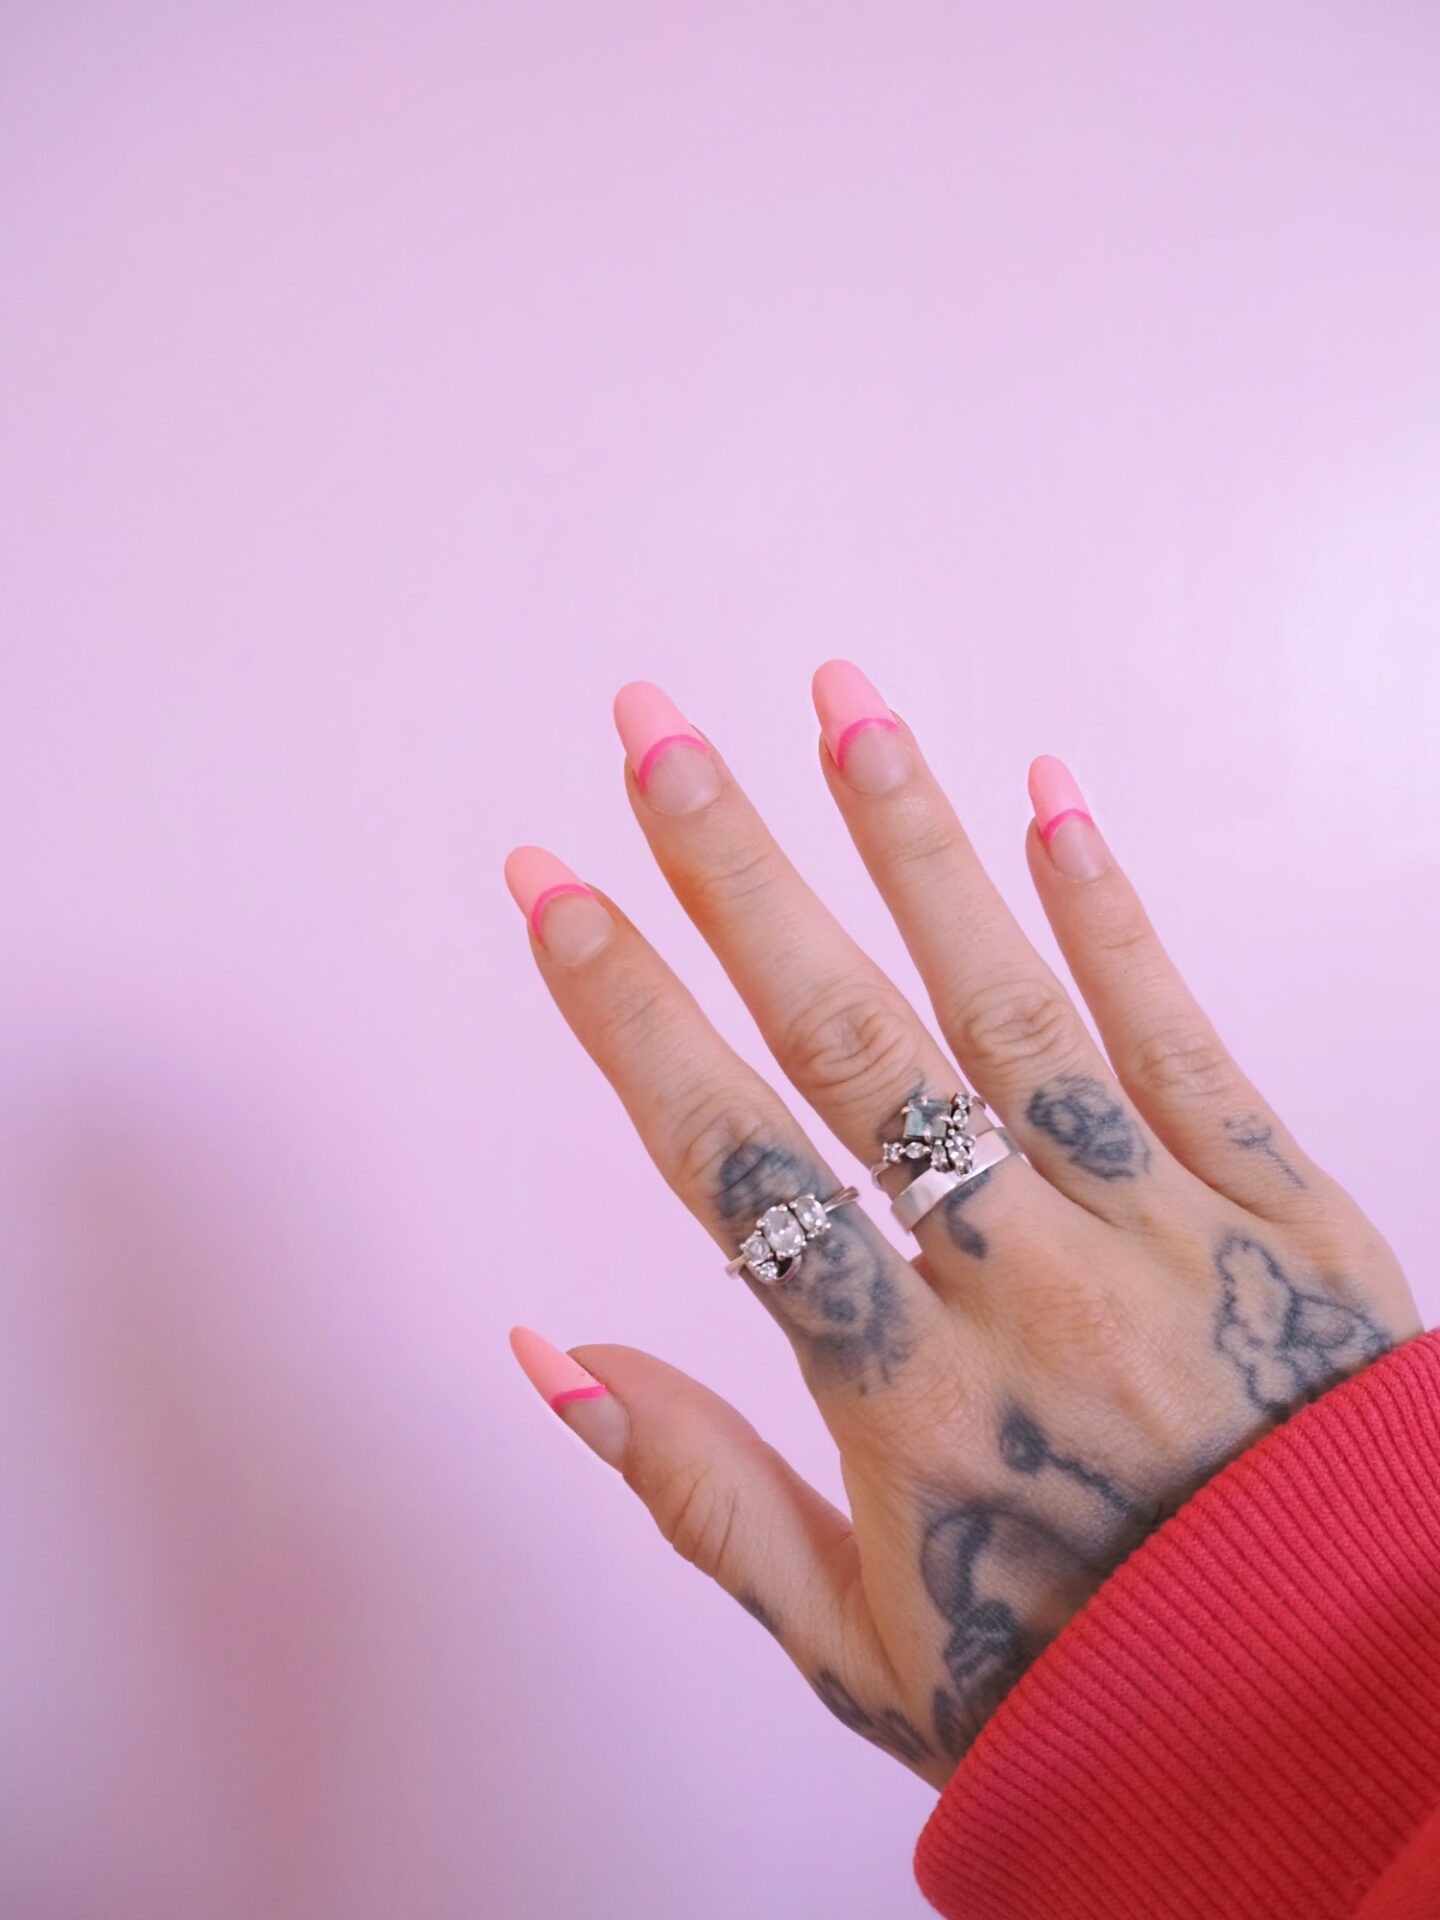 - rings from @tippytaste and @onenecklace
What I Used
Creating these nails was really therapeutic for me. Here is a list of what I used to make these beautiful simplistic nails.
- Acrylic brush
- Acrylic powder pink/blush
- Bottom coat gel
- Top coat gel
- Nail file
- Clear nail extensions
Where I got My Stock
I have a large nail kit, no kidding, I can spend hours doing a fresh set of quirky nails and it never gets boring. When creating these lavish styles I get stock from a few different places. From little gems to fluffy hearts to neon bright colored gels to paint with. Here are a few places you can pick some of those items up:
Amazon is good for quick delivery if you have Prime, picking up some essentials from there. However, Sally's is my go-to for most of my products; I have a business account with them from being a tattoo artist and nail tech, so I’m always buying from them to re-stock items like my nail files of gel paints. It is worth getting a business account with them and taking advantage of your discount! Shein is great for picking up little add-ons to put onto any nails that can't be found anywhere else in stores, usually, I pick up some crazy items like little cherubs and pink teddy bears. So it's always good to have a rake on their website and see what you can find!
Making And Shaping The Nail
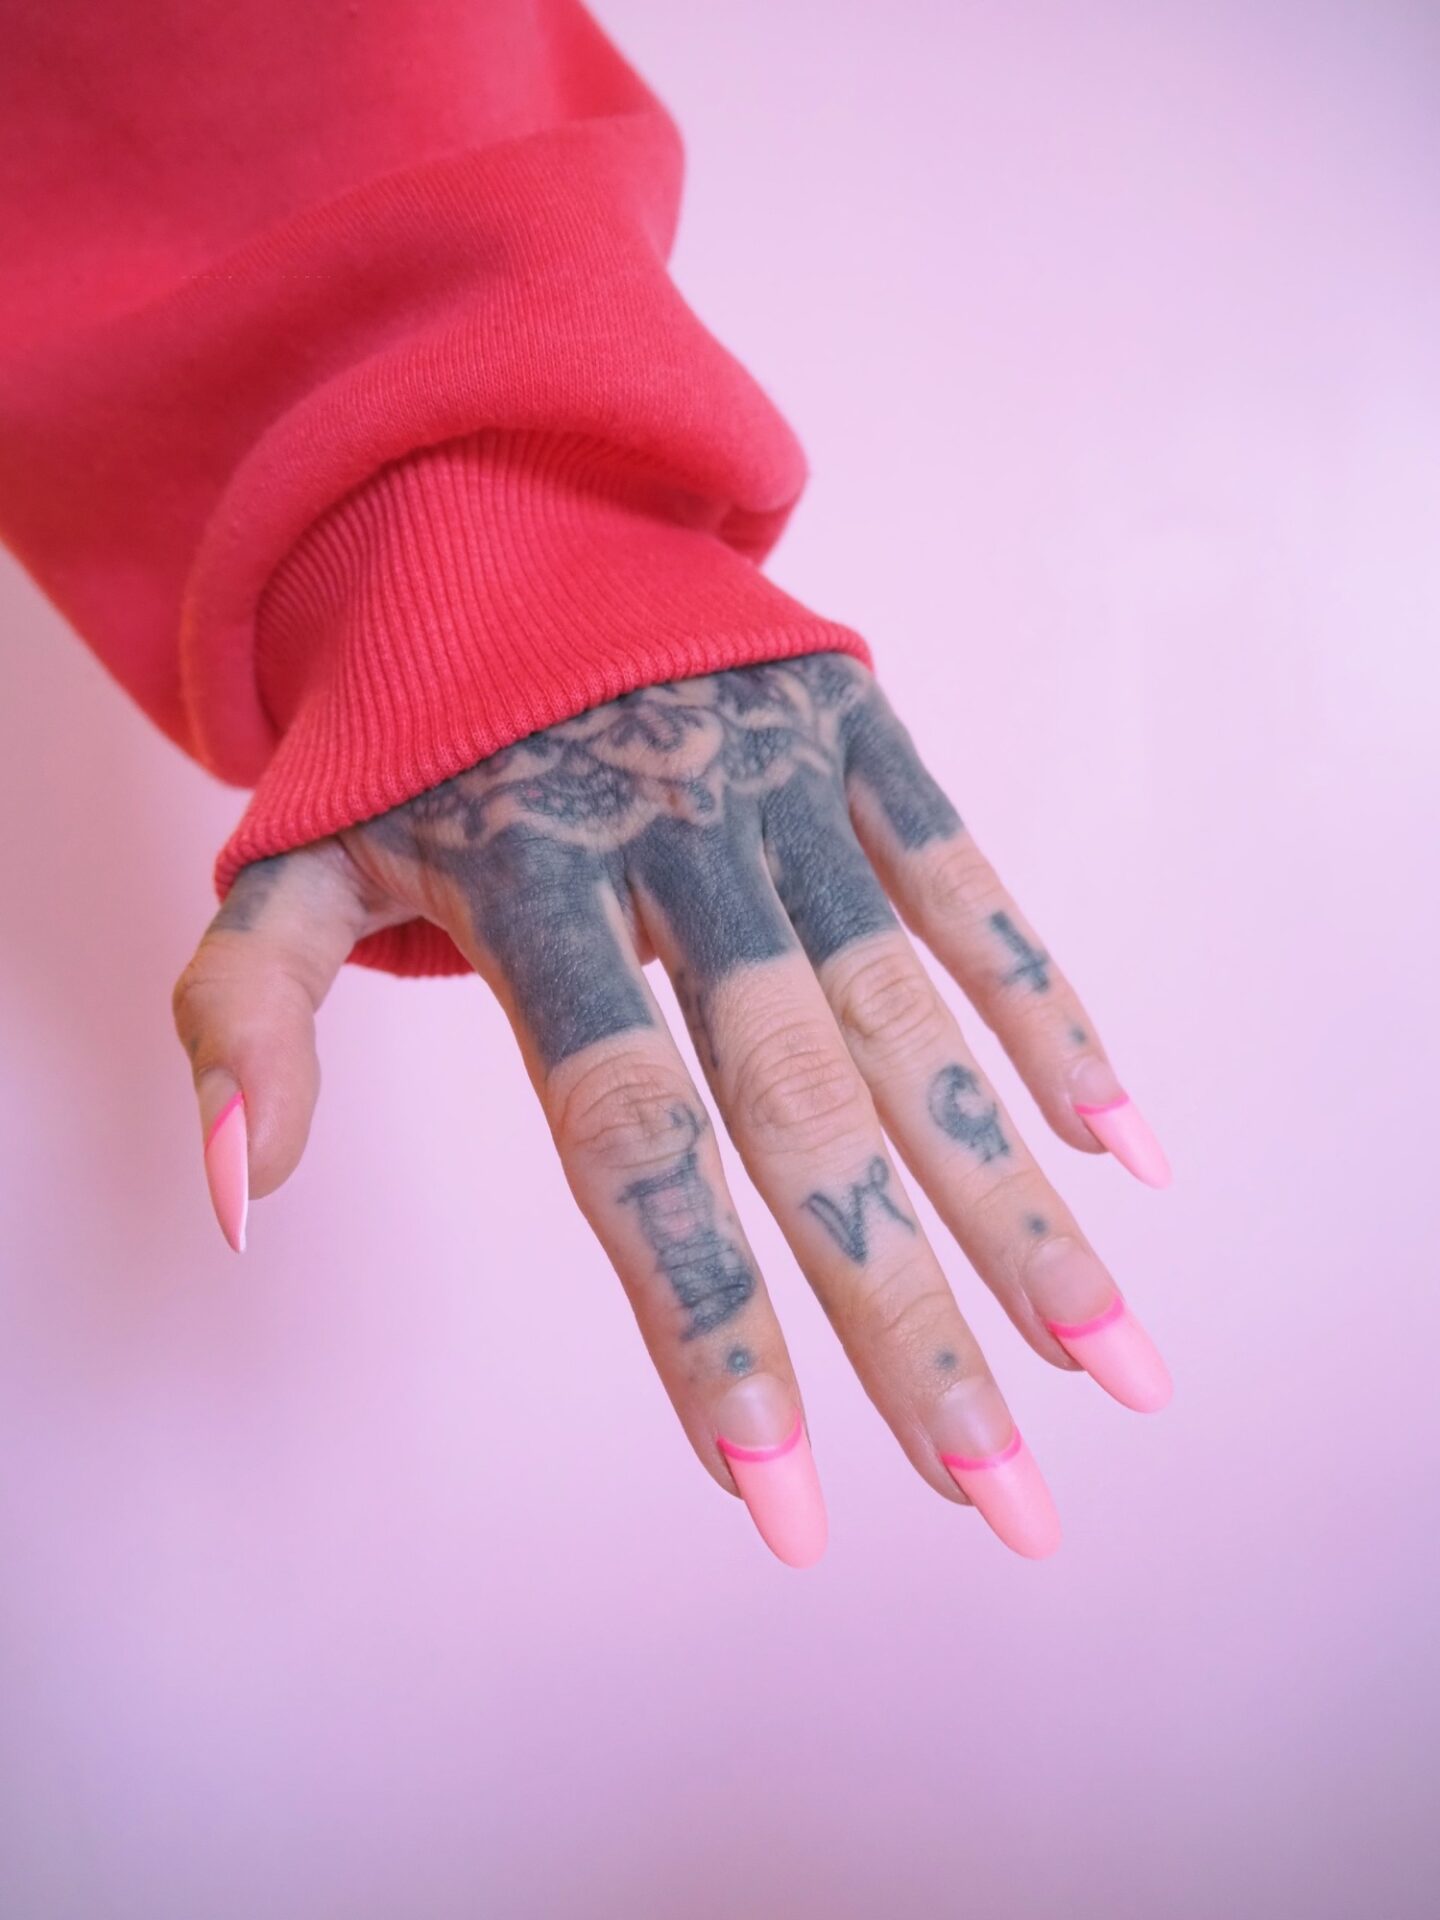
I chose an oval shape as it's a classy style and definitely on trend at the moment. To achieve this, I first prepped my natural nails and clipped them to get them ready to glue on nail extensions. Once glued, I clipped them down using a nail clipping tool to the desired length, I then filed the oval shape using a reduced nail file, removing any little pieces to make them smooth and the right size. Next, taking my acrylic powder and liquid I applied a pea-sized amount to put over the top of my natural nail and false extension using an acrylic brush tool. I did this twice to get an even amount applied until I was satisfied with the overall amount. Using my nail reducer files, I filed down the acrylic until it was smooth all over and level.

Painting The Nails
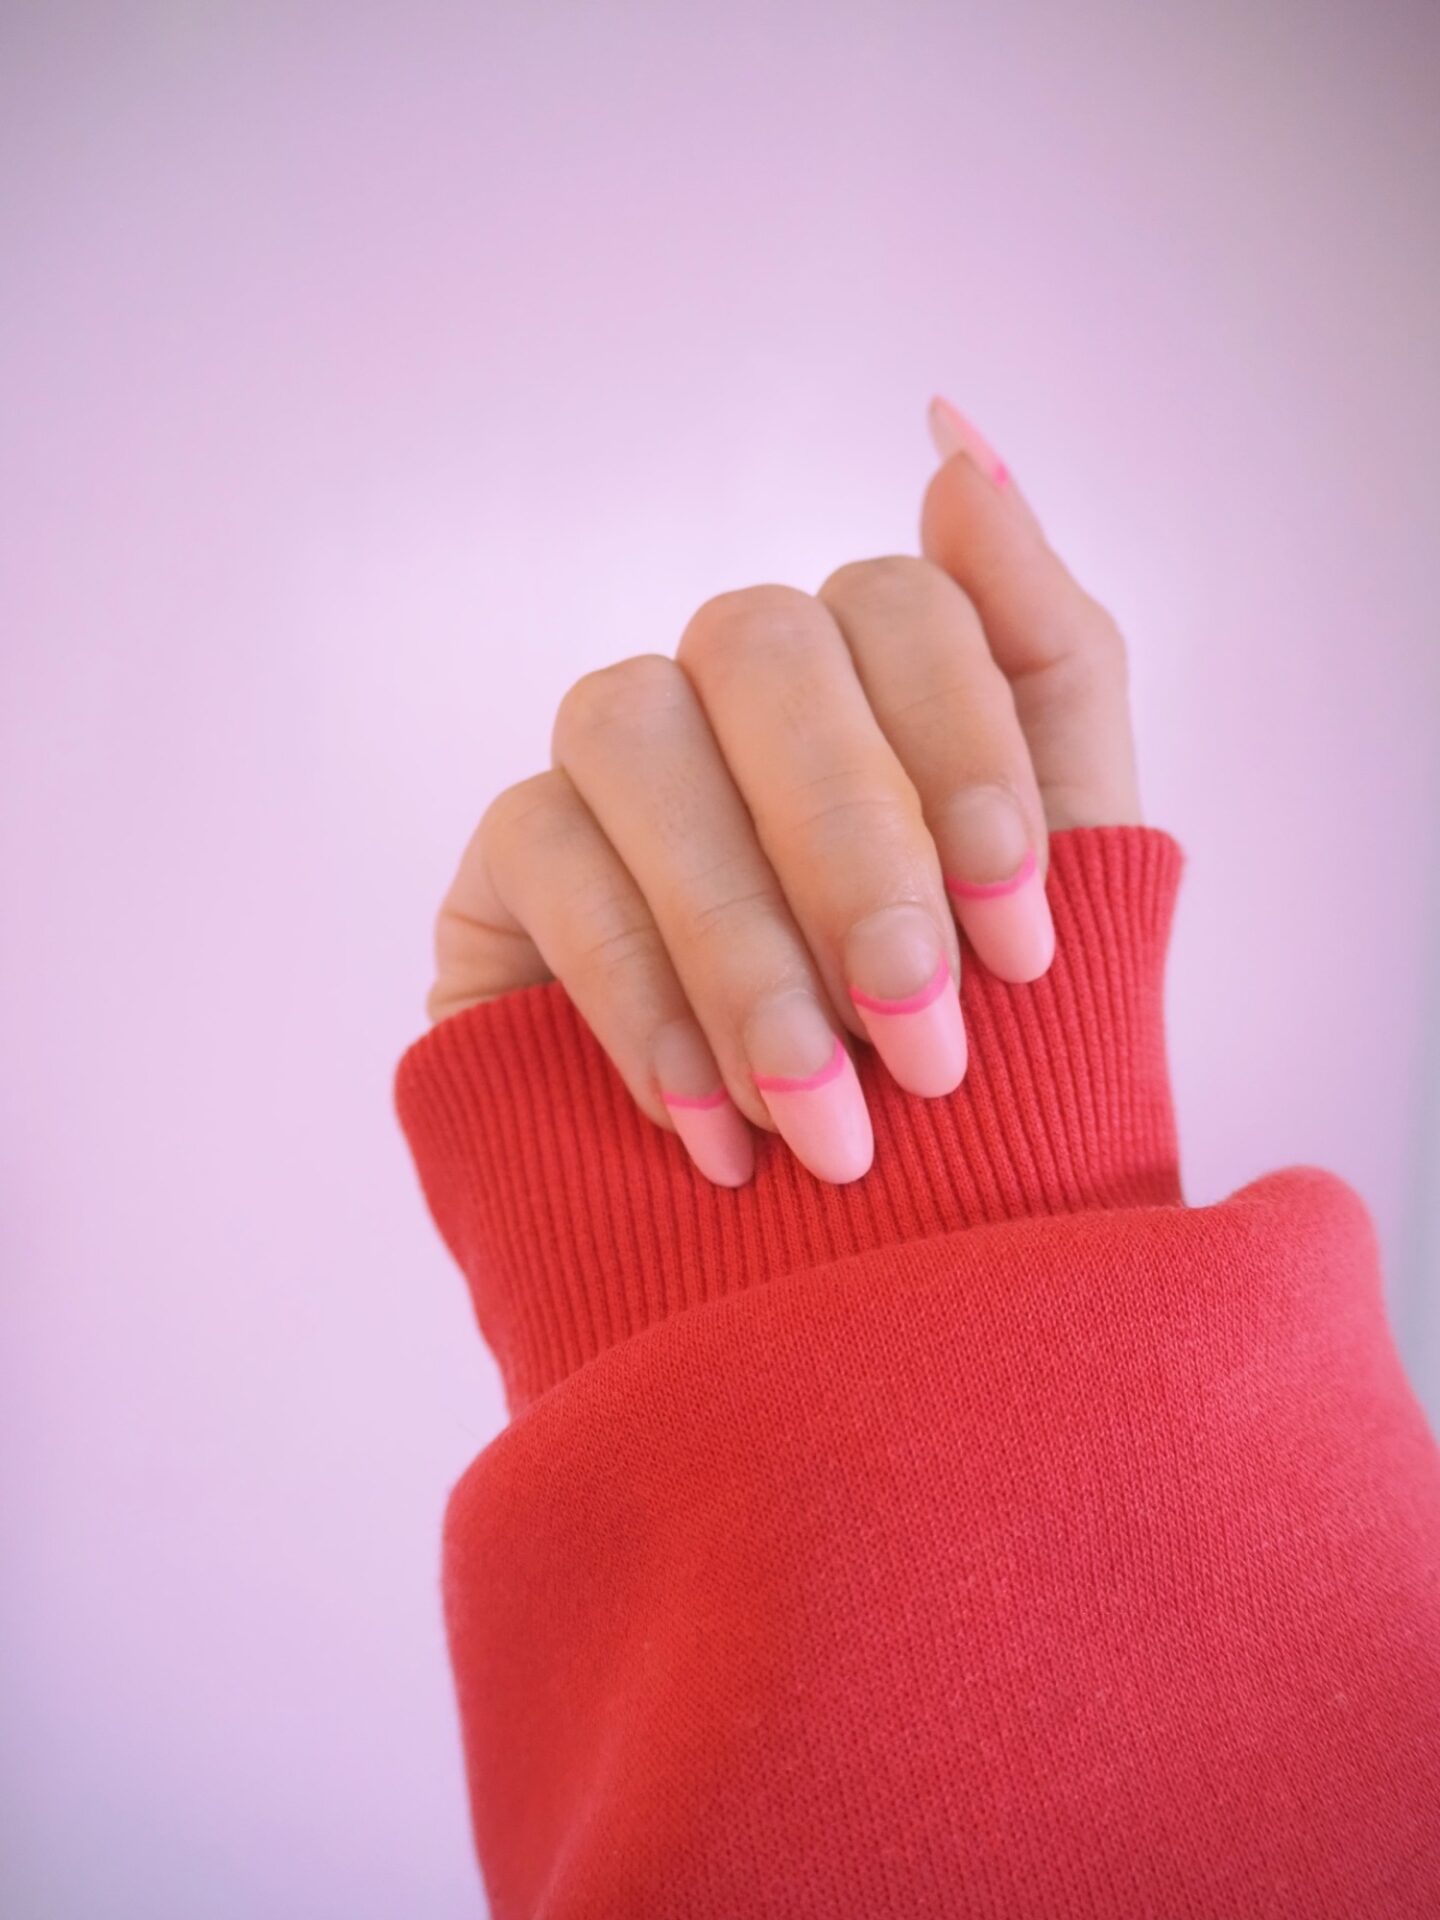
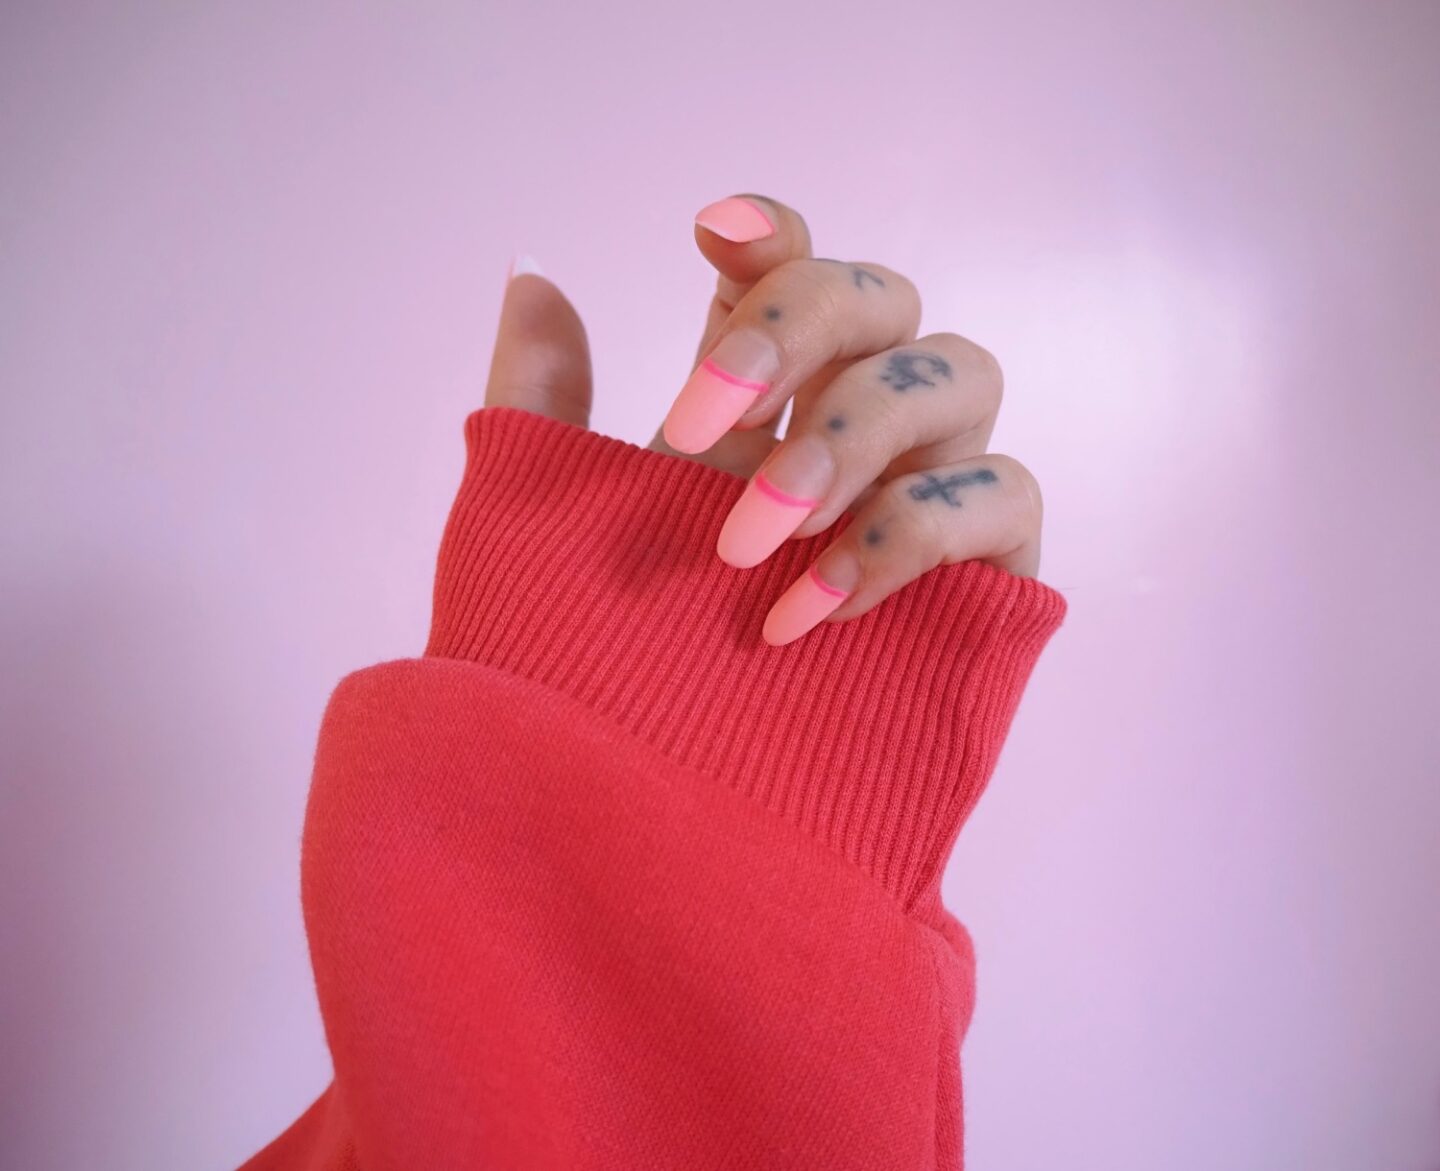
When it came to painting the nails, I first used the base coat gel and let it set under my UV lamp. Next, I used the baby pink gel paint to create a crescent shape halfway down the nail and covered the rest of the tip with the same colour before letting them set in the UV lamp again. Next, I used hot pink to create the same crescent shape over the top of the first crescent, making the line thinner and only ever using one coat each time. Once again, I let it set for 120 seconds under the UV lamp. After setting, I then topped it off with a matt gel top finish coat, leaving me with silky smooth feeling nails that looked perfect.
Recommendations
If you are a nail tech like me or just want some good quality products to use when creating your own, then other really good brands you can get great quality nail products from are:
The quality of the products you use definitely reflects on how great your nails will turn out. It is important to use the correct products when applying them to your nails. It is vital to read the label of contents to see what chemicals are inside so you can avoid any unwanted allergic reactions on yourself, or crucially on someone else if you are doing their nails.

Final Say
I hope this article helped you out, and that you have lovely pink pretty summer nails to enjoy when you're on holiday or by the beach this summer. Remember to subscribe to keep up with my latest pink female style and funky nail trends.